
So, you’ve made the leap to an electric vehicle. That’s fantastic. You’re probably thinking about the charger itself, the electrical panel upgrade, maybe even the tax credits. But here’s a curveball: have you thought about your roof?
Honestly, most people don’t. Your roof and your EV charger seem like distant cousins at a family reunion—aware of each other, but not really interacting. Yet, the truth is, installing a home EV charging station, especially a Level 2 setup, often involves a significant electrical upgrade. And that upgrade? It frequently starts with the service mast and the conduit running up your exterior wall and across your roof’s edge. Suddenly, your roofing system is a key player in your EV journey.
Why Your Roof Matters in the EV Equation
Let’s get straight to the point. The main electrical service line to your house typically comes from the utility pole, attaches to a mast on your roof, and then feeds into your meter and main panel. To support the added load of an EV charger—which is like adding a small electric oven that runs for hours—you might need a service upgrade from, say, 100 amps to 200 amps.
That new, thicker cable and mast often need to be routed. And the path of least resistance, quite literally, is alongside the existing one, right over your roof’s eave or along a rake edge. This is where roofing considerations become critical. A sloppy installation can compromise your roof’s integrity, leading to leaks, rot, and a world of headaches you definitely don’t need.
Key Roofing Factors to Navigate
1. The Conduit Conundrum: Flashing is Everything
When a conduit or cable needs to penetrate your roof plane—even just at the edge—it creates a potential entry point for water. The absolute, non-negotiable rule here is proper flashing. A competent electrician will work with a roofer, or use specialized, weather-tight flashing boots designed for conduit.
Think of it like putting a gasket around a straw going through a lid. That seal must be watertight, UV-resistant, and compatible with your roofing material (asphalt shingle, metal, tile, etc.). Silicone or rubber seals can degrade over time, so ask about the longevity of the materials used.
2. Material Matchmaking
Your roof’s material dictates the installation approach. Here’s the lowdown:
- Asphalt Shingles: The most common. Flashing involves lifting shingles, installing a step flashing or a specialized boot underneath, and then re-sealing everything. It’s a delicate dance to avoid cracking the shingles.
- Metal Roofing: Actually, a great candidate if done right. Installers can use standing seam roof clamps that don’t penetrate the metal at all, then run conduit along these mounts. For penetrations, they’ll use metal-specific flashing kits with butyl tape or sealants that bond to the metal.
- Clay or Concrete Tile: Tricky. Tiles are brittle. The best practice is to remove tiles carefully, install a flashing pan on the roof deck, and then cut the tile to fit around the conduit before re-installing. This is a job for a pro who knows tiles.
- Flat or Low-Slope Roofs (EPDM, TPO, Modified Bitumen): These systems rely on membrane integrity. Penetrations require a fully bonded, reinforced flashing boot that’s often heat-welded or adhered to the membrane to create a monolithic seal.
3. The Path and the Pitch
Where exactly is that conduit running? The ideal path is along an eave or a rake edge, minimizing the roof area crossed. The pitch (steepness) of your roof matters, too. A steeper roof is harder to work on safely and might require more mounting hardware to secure the conduit, increasing potential penetration points. Honestly, safety for the workers is a huge part of the cost and planning here.
Proactive Planning: Questions to Ask Your Team
Don’t just assume your electrician is a roofing expert, or vice versa. You need them to talk. Here’s what you should bring up:
- “Can we route the conduit to avoid the roof entirely?” (Sometimes, an underground service lateral is an option, though often more expensive upfront.)
- “What specific flashing product will you use, and what is its expected lifespan?”
- “Will you need to coordinate with a licensed roofer for the penetration work, and is that cost included?”
- “How will you secure the conduit on the roof without compromising the material?”
- “Can you provide a warranty for the weather-tightness of the installation?”
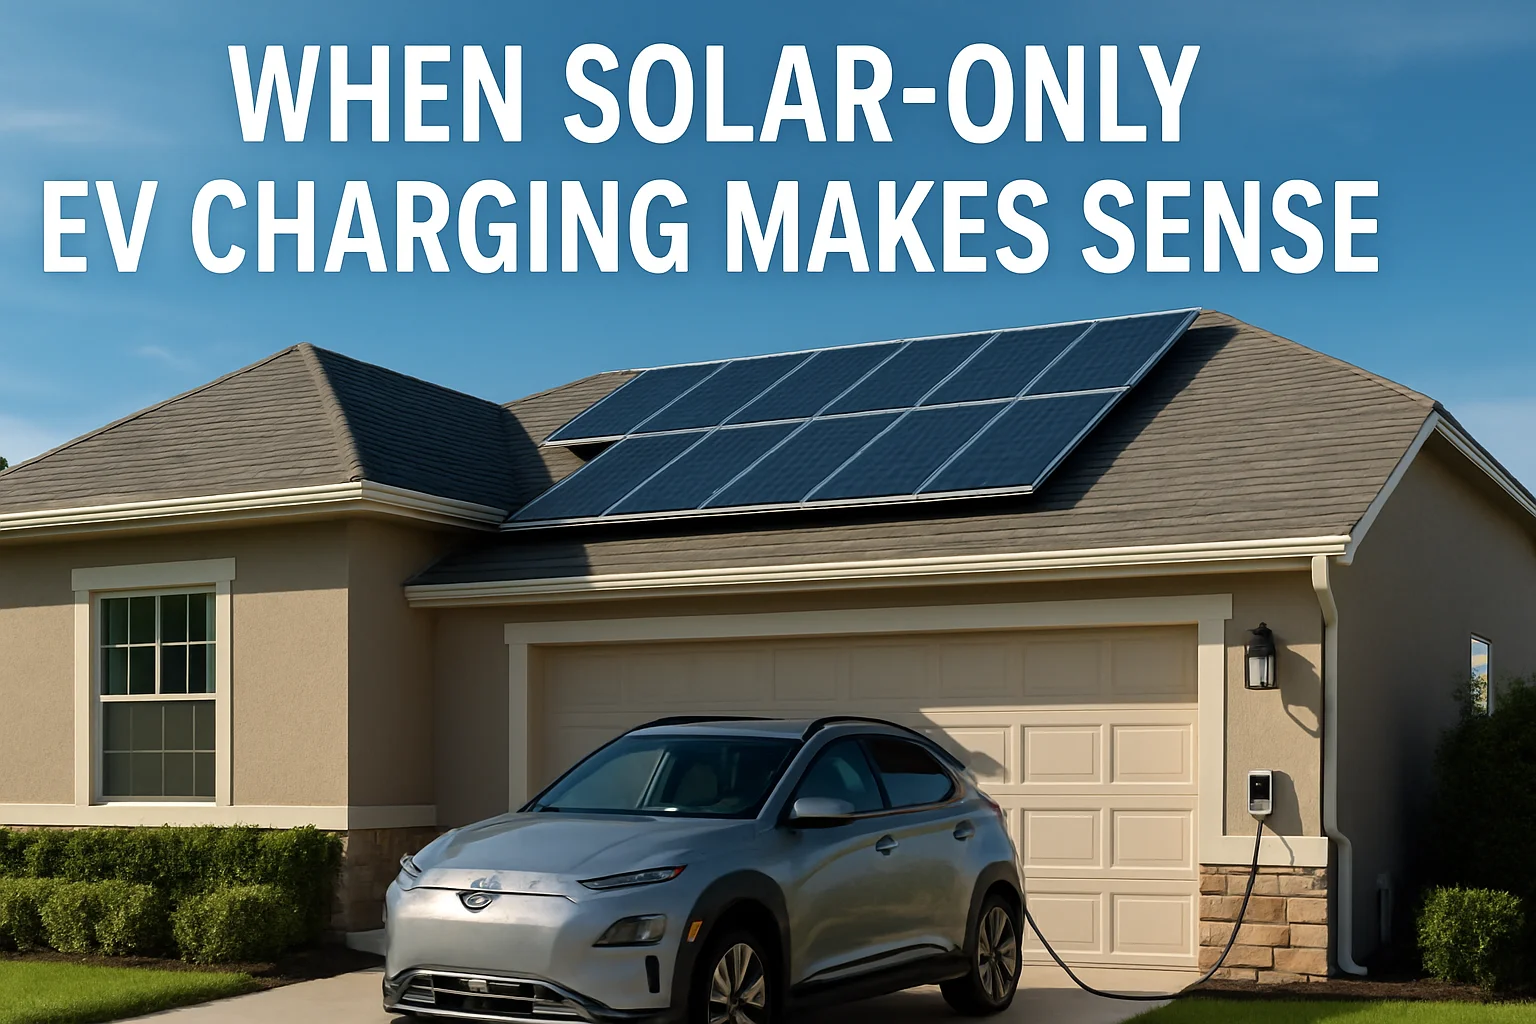
The Solar + EV Charging Synergy
Here’s a trend that’s picking up serious steam: pairing rooftop solar with EV charging. It’s a brilliant move—power your car with sunshine. But it adds another layer of complexity. Now you’re looking at two major roof penetrations: one for the solar array’s racking and conduit, and one for the upgraded electrical service.
If you’re considering both, plan them together. A single, coordinated installation means the roofing crew can ensure all penetrations are flashed in a cohesive, best-practice manner. It’s more efficient and, in the long run, safer for your roof. It turns a potential headache into a harmonious system.
A Quick Checklist Before You Start
| Consideration | Action Item |
| Roof Age & Condition | If your roof is near the end of its life, do the replacement before installing new conduit. It’s far cheaper than re-flashing later. |
| Permits & Inspections | Your electrical permit will likely require a final inspection that includes the roof penetration. Don’t skip this. |
| Future-Proofing | Thinking of a second EV? Discuss conduit size and mast capacity now to avoid doing this twice. |
| Warranty Voidance | Check your roof manufacturer’s warranty. Unauthorized penetrations can void it. Use certified installers. |
| Gutter & Downspout Path | Ensure the conduit run doesn’t interfere with water drainage. You don’t want a waterfall diverted onto your charger. |
Look, transitioning to an EV is about forward-thinking. It’s about a cleaner, more efficient way to move. That mindset shouldn’t stop at the charger’s plug. It should extend to the very structure that shelters your new investment—and your home.
By giving your roof the consideration it deserves in this process, you’re not just protecting shingles and sheathing. You’re ensuring that your step into the future is built on a solid, dry, and secure foundation. And that’s a peace of mind you can truly charge on.